Please read the following article that details the principles of animation, written / presented by John Lassiter of Pixar/Disney:
CLICK HERE
Review the following Blender Tutorials:
Bouncing Ball (Stretch and Squash)
Bouncing Ball 2 (youtube)
Soda Can (Anticipation & Stretch and Squash)
Assignment:
Create a simple model of your choice and apply your knowledge of stretch and squash AND anticipation. This model may be anything you want ranging from a simple ball, a more complex ball (such as basketball, or other with segments/seams), a simple model such as the soda can or glass, or even your robot.
Requirements: Please click the tab at the top of the blogspot to see 'rubric'
Friday, 18 October 2013
Monday, 30 September 2013
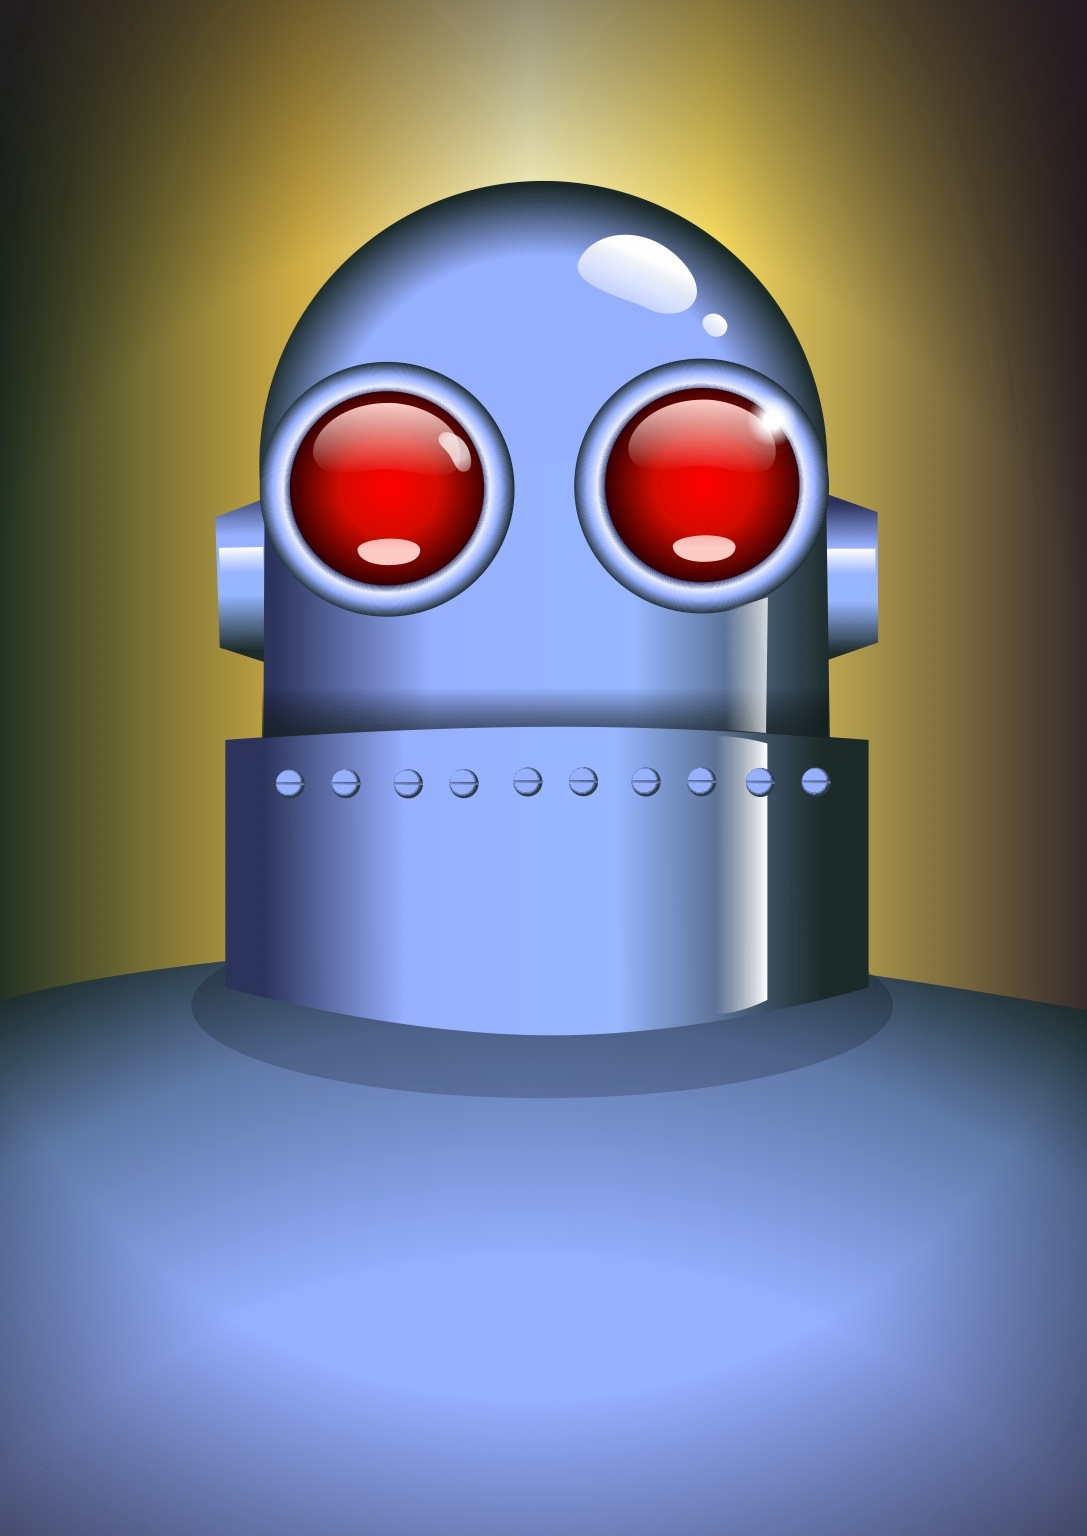
The face of your robot character
Remembering the Pixar concept that the eyes are the windows to the character's soul, please respond to this question on the blog:
What kind of face and eyes will your character
have? How will you make the eyes? Will the
eyes have eyelids, or will the eyes be hollow
openings?
A good tutorial for creating "Pixar-like" eyes.
In looking at your current robot design what
would you say the personality of your robot would
be? Is it kind, friendly, mean, antagonistic, gentle
giant, etc?


Sunday, 29 September 2013
Character Design
Dreamworks: The production process
Pixar: Character Development
Jason Deamer Pixar Interview (Character Developer)
Student response: What benefit might you have when drawing your robot design before modeling?


Pixar: Character Development
Jason Deamer Pixar Interview (Character Developer)
Student response: What benefit might you have when drawing your robot design before modeling?
Sunday, 22 September 2013
Sept 23 Your Robot
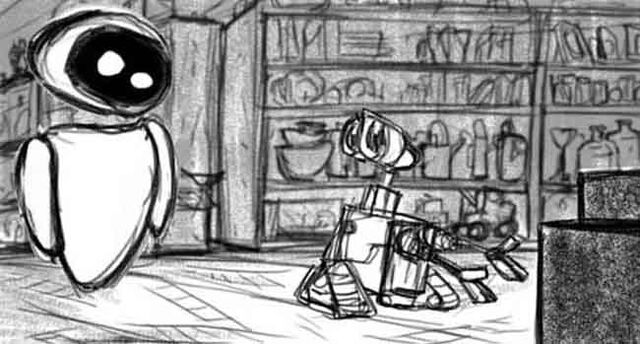
Many 3D artists start off creating great geometrically based characters. Often these characters are based on inanimate objects such as Cars, Lamps, Robots, and more. Much of the early 3D animation that you might see features inanimate objects created mostly using primitive mesh shapes. It's a good place to start. They key to creating a great character is by figuring out how to breathe life into the character.
Let's listen to John Lassiter of Disney/Pixar as he talks about how to infuse an inanimate character with life and personality.
In groups discuss the ways in which Lassiter describes bringing the Cars in Car Story to life. In pairs or groups of 3, look at this trailer for Cars. Cite areas in the trailer where you see the concepts Lassiter talks about in the Charlie Rose interview.
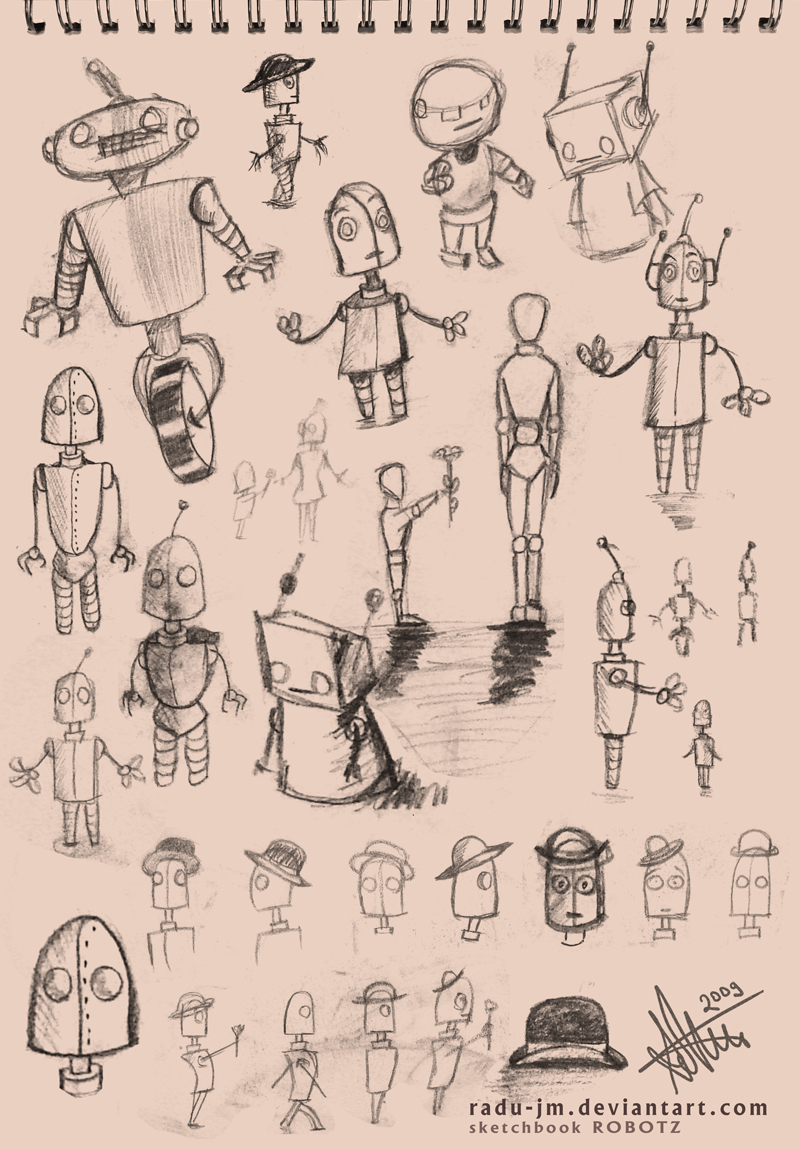
Monday and Tuesday: Create sketches in your sketchbook of various ideas for a robot. What would your robot do? What kind of functionality would it have? Would it be a helper, a friend, an animal, made from junk and recyclables, or shiny new material? (Tuesday) In small groups share your sketches and explain the functionality and personality of your robot. Get some feedback from your group. What do they like? Would they as 'audience' members relate to your robot? Who is the audience for your robot? Would it be directed to small kids (ala Jimmy Neutron, Spongebob), older kids (Adventure Time), or mass audiences (Nemo, Cars, Spirited Away).
Let's listen to John Lassiter of Disney/Pixar as he talks about how to infuse an inanimate character with life and personality.
In groups discuss the ways in which Lassiter describes bringing the Cars in Car Story to life. In pairs or groups of 3, look at this trailer for Cars. Cite areas in the trailer where you see the concepts Lassiter talks about in the Charlie Rose interview.
Monday and Tuesday: Create sketches in your sketchbook of various ideas for a robot. What would your robot do? What kind of functionality would it have? Would it be a helper, a friend, an animal, made from junk and recyclables, or shiny new material? (Tuesday) In small groups share your sketches and explain the functionality and personality of your robot. Get some feedback from your group. What do they like? Would they as 'audience' members relate to your robot? Who is the audience for your robot? Would it be directed to small kids (ala Jimmy Neutron, Spongebob), older kids (Adventure Time), or mass audiences (Nemo, Cars, Spirited Away).
| Yay OK, Rocket Monkeys |
 |
| Jimmy Neutron's Brobot |
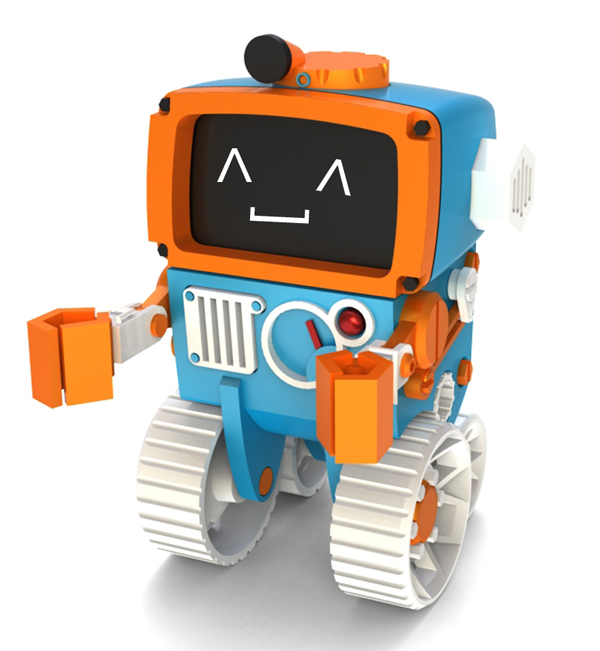 |
| Yanko Designs, Awesome Bot |
| Pixar, Logo Animation Still Frame |
Sept 23 Robots and Gingerbread People
THIS WEEK:
More Modeling practice
Start to design your robot in your sketchbook
Robot-model the robot from last week. You do not need to animate it, although you can if time permits.

One thing to remember, you can mirror an object using another object as reference. In this case, I used the robot as the object to use for the center point.
When complete with the robot, try this gingerbread tutorial from the BlenderWiki. It is an easy to follow tutorial, step by step written guide. You will continue to sharpen your modeling skills, use mirror again and practice working with materials. (Click here for tutorial)
There is also an excellent rigging and animation tutorial that follows. Doing the gingerbread person will help set a foundation for character modeling.

Friday, 13 September 2013
Hand in Files
Please hand in your 3D files to the following:
- Render your wine glass as a png or jpg file and upload here
- Render a view of Steve as a png or jpg file and upload here
- Render a short animation of your Steve character walking and upload here
Robot Models in Blender
BlenderArt-Robot Tut
Blender Art has a good tutorial, although it requires patience. New concepts:
- Mirroring
- UV Sphere Mesh Object
- Much use of the Front/Side Orthagonal Views
- Use of Background Image
- Select multiple vertices at the same time (c)
- Select multiple vertices at the same time, box select (b)
- Mesh-Modifiers-Subdivisions (and Mirror)
- Convert tri to quad (polygons-what to do if you end up with a tri, triangles can do bad things in the rendering of the model)
- Welding vertices (extrude, right click, alt M, 'at center')
Things to watch for: Count of original rings in the uv sphere, use 48 rather than 24. When you cut the section for the ear by deleting vertices, make sure you are cutting an oval or round opening.
This is an excellent tutorial, artist/modeler seldom makes a mistake, the pacing is very good, easy to follow with nice results. Does a really nice job with shading and colorizing the robot. Excellent job of adding lamps and lighting.
New Concepts:
- P-Separate selection while in edit mode on single object
- Mirror Modifier
- Modifier-Edge Split
- Select "Ring"
This movie is well worth watching as it demonstrates setting up a rigging with parent objects from the armature menu.
Subscribe to:
Posts (Atom)